UEC Disk2 is an online storage service by Next Cloud, which is operated on the campus server. It is for faculty and staff only . You can use up to 15GB per account. It has the following features.
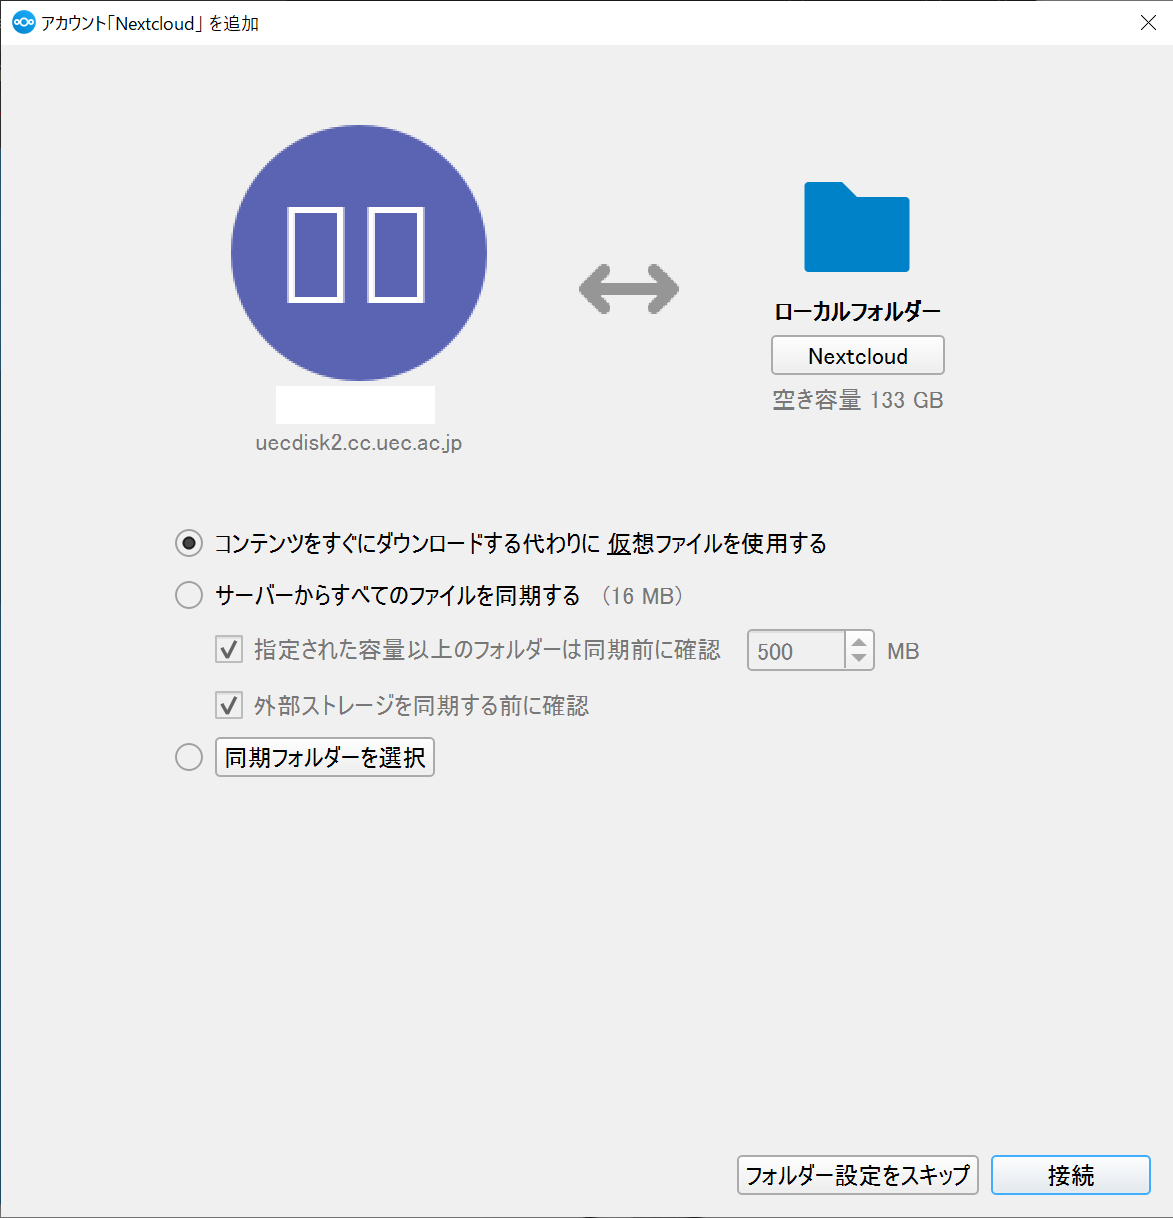
Specify the folder to synchronize. The contents of the folder specified here will be automatically synchronized.
If you do not specify a specific folder, click the connect button without changing it.
operation check
When you copy a file to the synchronization folder, the file will be automatically uploaded to the server. If you set up other PCs in the same way, the files will be automatically synchronized between all the PCs and the server.
You can share the synchronized files and folders with other UEC account users.
Hint
You cannot share a file/folder with a user who has never logged in to UEC Disk 2 before. Please ask the user you are sharing with to log in to UEC Disk 2 once.
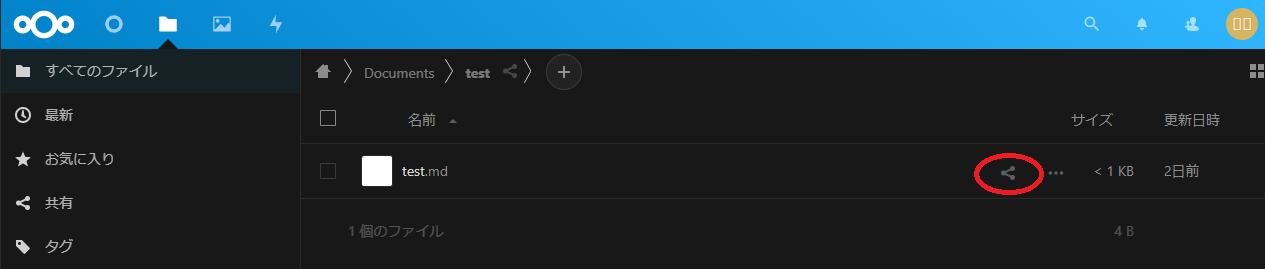
Click the share icon on the right side of the file or folder you want to publish.
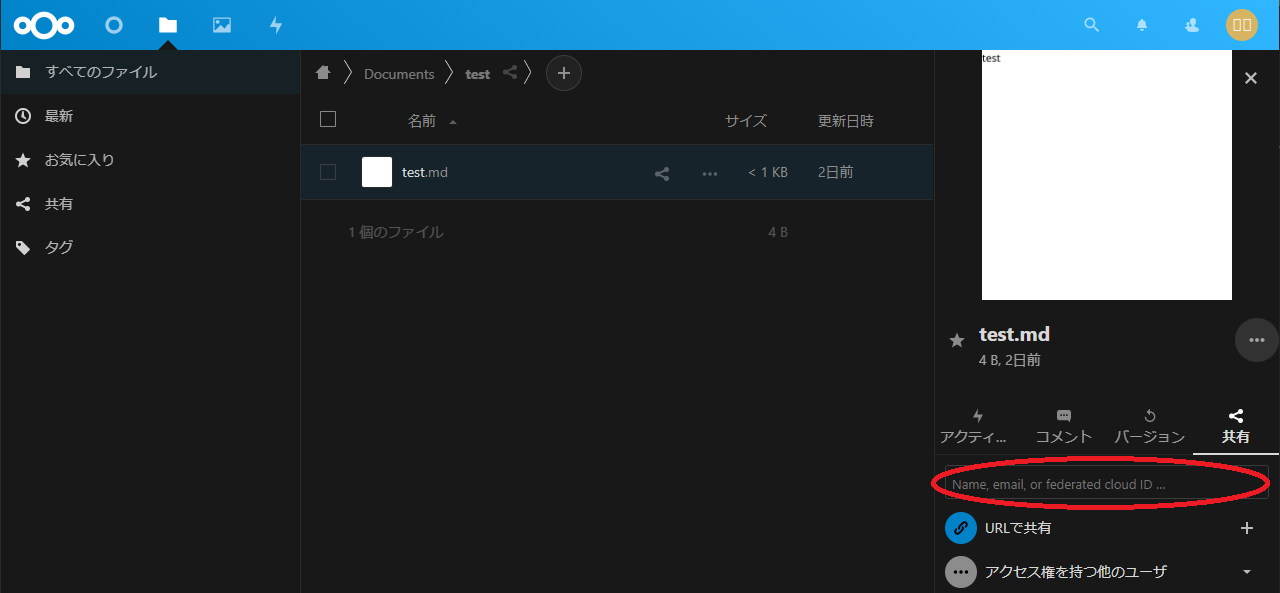
In the field labeled Name, email, or federated cloud ID … , enter the UEC account of the person you want to share with .
When a file is shared, sharing is displayed on the right side of the file. Clicking on the sharing will open the sharing window, and opening the details will show the account being shared.
Note
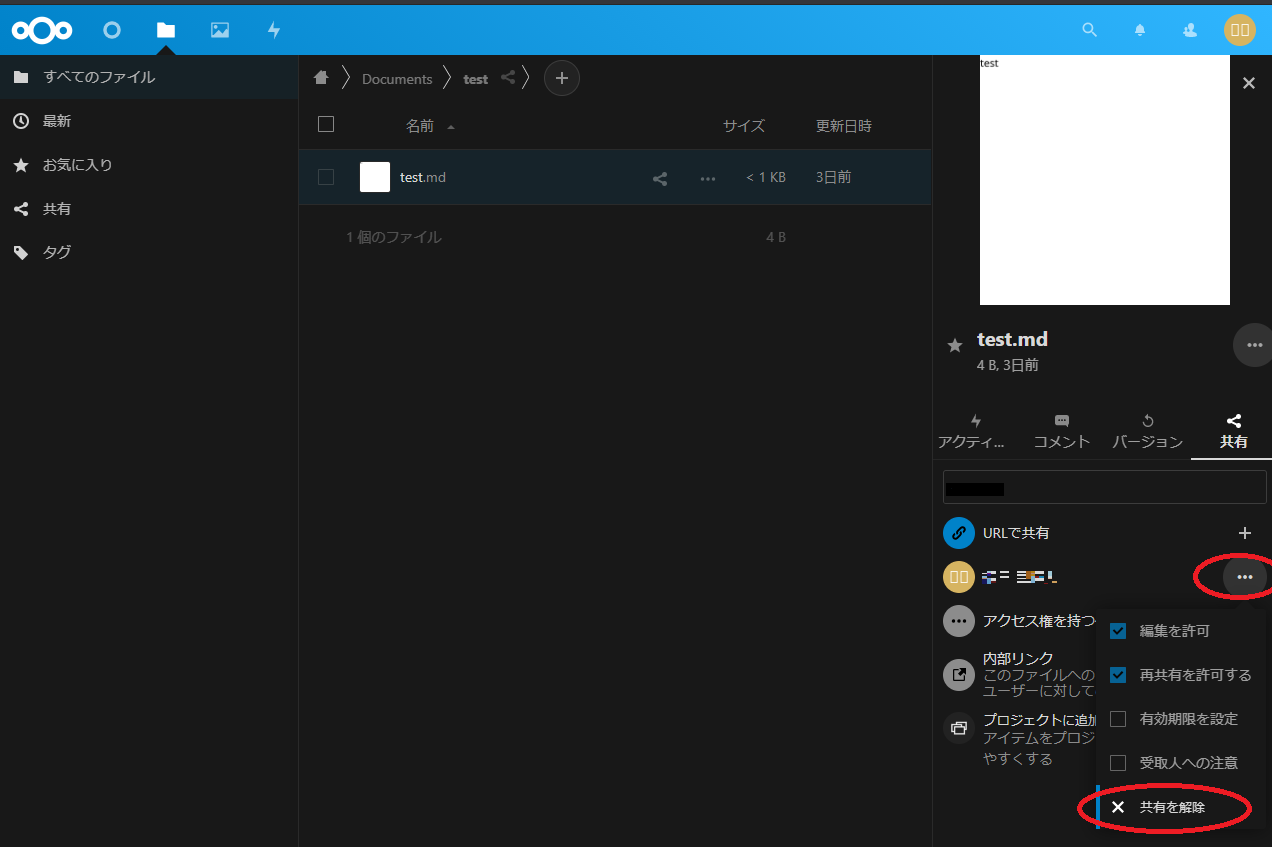
Clicking the … button on the right side of the screen allows you to configure the following settings for the shared file/folder. Allow Editing”, “Allow Re-sharing”, “Set Expiration Date”, “Note to Recipients”, “Remove Sharing” The image shows an example of “Remove Sharing”.
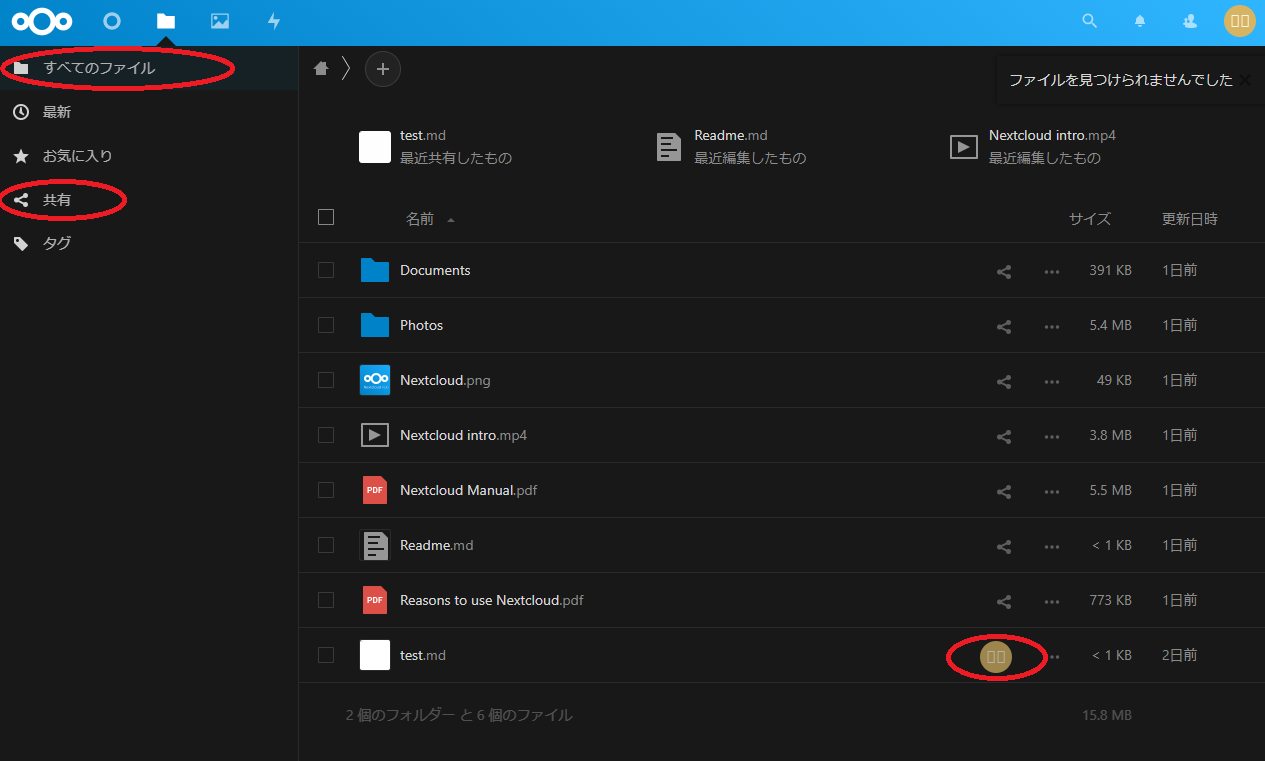
The user who shared the file/folder will see the shared file/folder and the user who shared it in the all files of UEC Disk2. You can view the files and folders from all files or shared in the upper left menu.
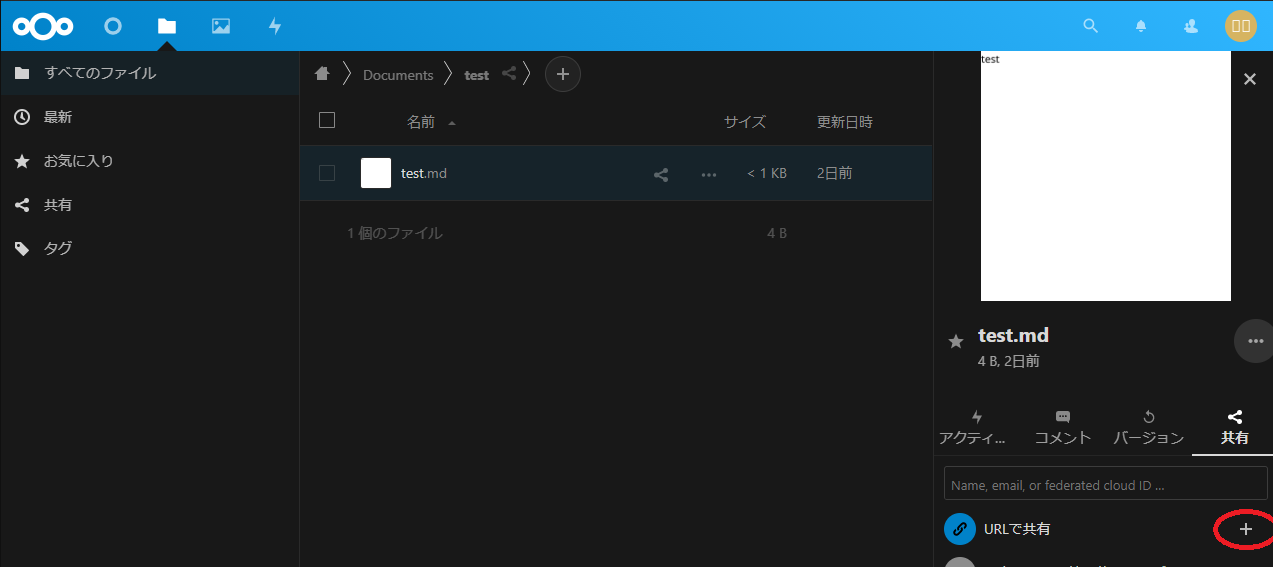
Click the share icon on the right side of the file/folder you want to publish.
Click the + icon to the right of Share by URL to copy the link to the clipboard for sharing.
Pass the copied URL link to the person you want to share it with. By clicking on the link, the user can download the shared file.
Note
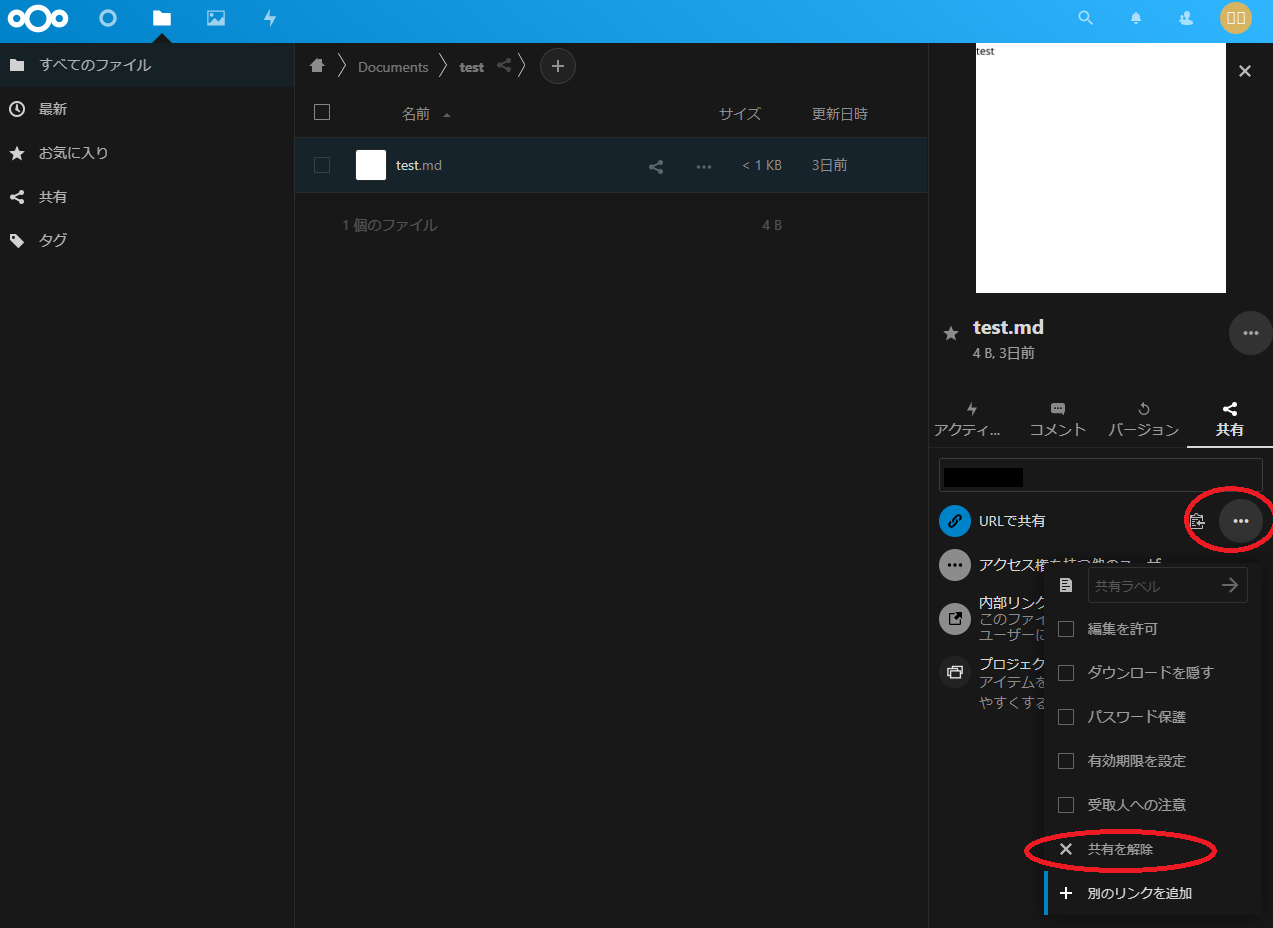
From the … on the far right, you can configure the following settings for files/folders shared with the ticket link. Allow Editing”, “Hide Download”, “Password Protection”, “Set Expiration Date”, “Note to Recipient”, “Unshared”, “Add Another Link” The image shows an example of “Unshared”.