Windows 10 (21H2)
Follow the steps below to set it up.
VPN Connection Settings
Click the Start button (
 ) and click the Settings (
  ) button.
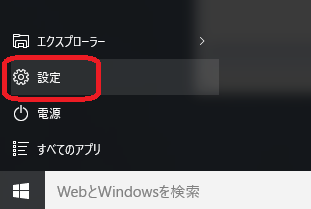
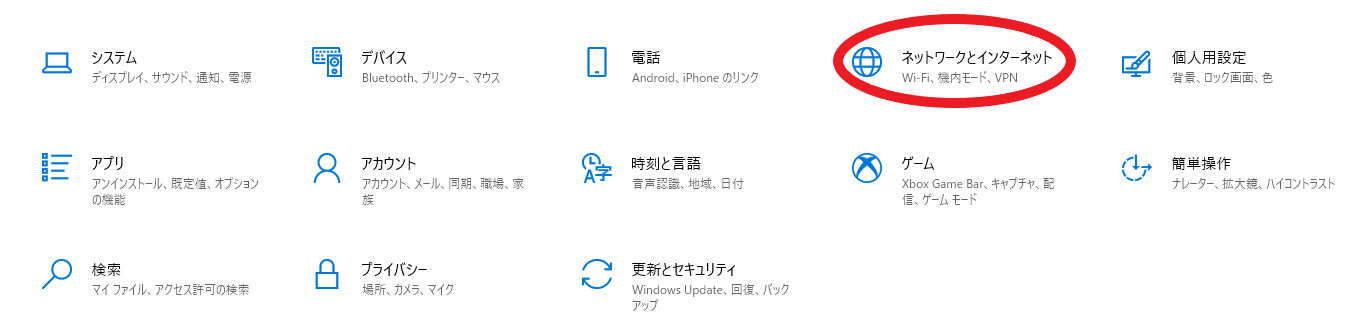
Click Network and Internet \(\Rightarrow\) VPN \(\Rightarrow\) Add a VPN connection.
\(\Downarrow\)
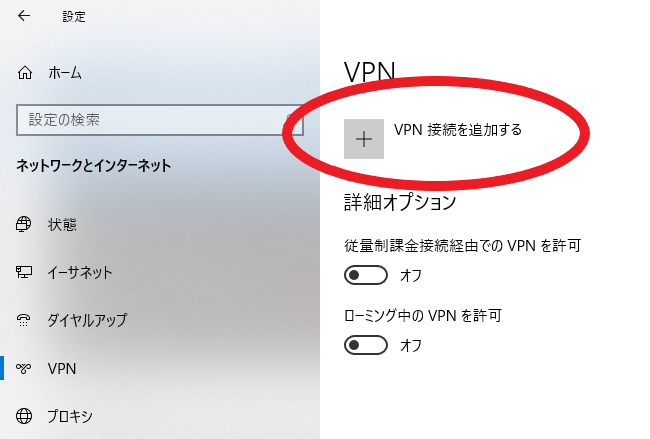
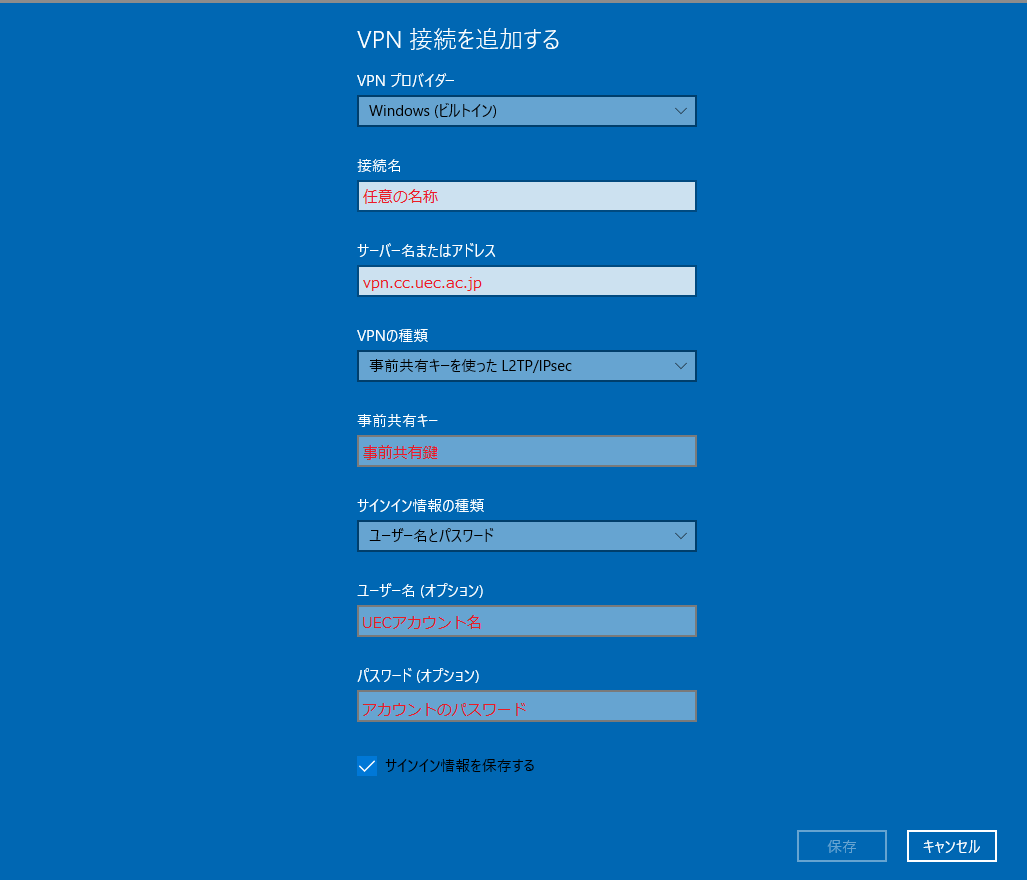
From the Add VPN connection screen, enter the following information and press the Save button. Next, proceed to VPN connection check.
VPN provider
Windows (built-in)
Connection name
Any name (
UECin the example)Server name or address
vpn.cc.uec.ac.jpVPN type
L2TP/IPsec with pre-shared key
Pre-shared key
Pre-shared key of VPN pre-shared key distribution page
Configure sign-in information
Username and password
Username (optional)
UEC account name
Password (optional)
UEC account’s password
Remember my sign-in information
check
Warning
The pre-shared key is updated around October every year. Please note that specific update dates will be announced via campus email and the Information Technology Center webpage .
VPN Connection Check
Click the Start button (
) and click the Settings ( ) button.Network and Internet \(\Rightarrow\) Click VPN.
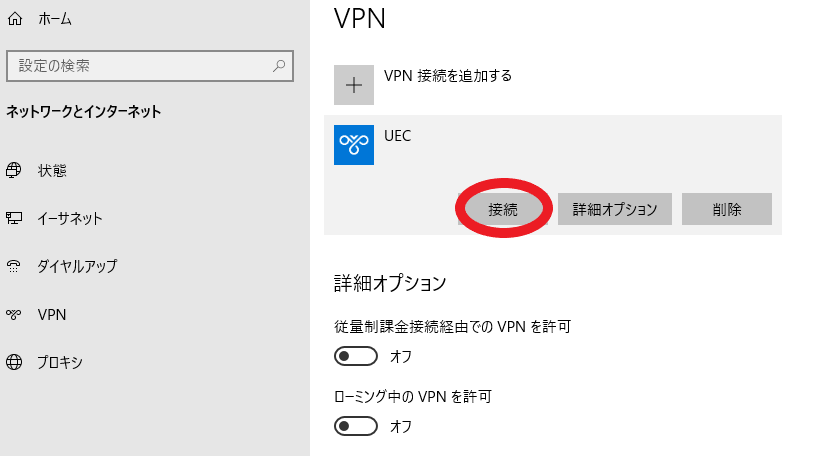
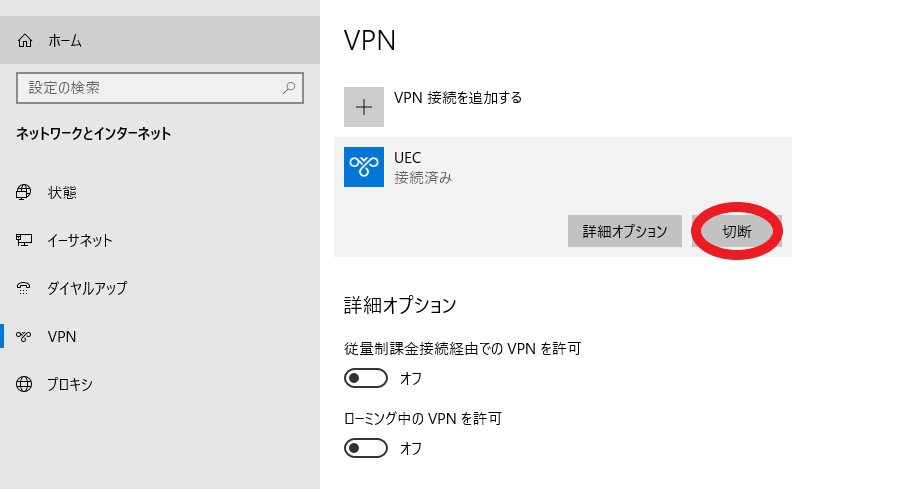
Select the VPN connection name you created earlier and click Connect. If no error is displayed, the VPN connection is successful. Please check the operation by starting your browser and viewing a web page that can only be accessed from the campus network. To disconnect the VPN connection, click on the Connected connection on the same screen, and then press the Disconnect button.